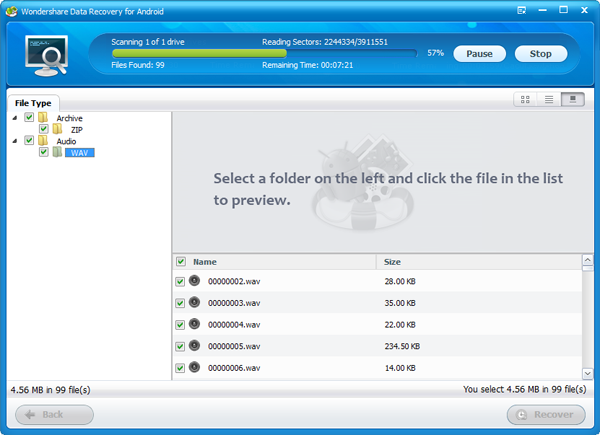
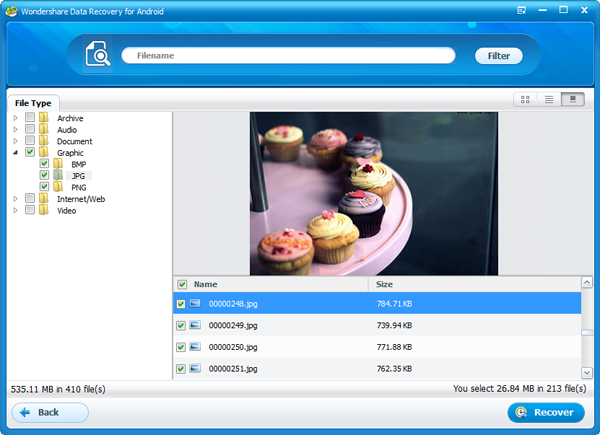
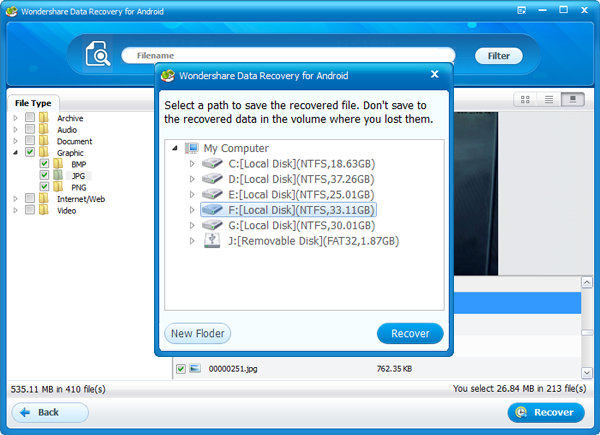
First,
Free download ITunes data recovery Mac,and install and run the program on your Mac.
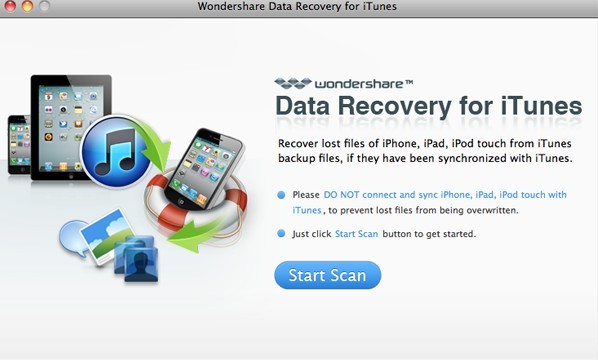 Step 1: Scan iTunes
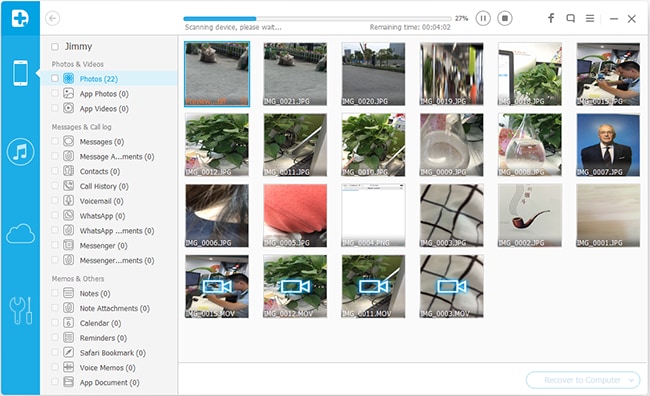
After install launch the software and in the Home window click “Start Scan”. This will bring you to a list of all the devices that are synced with your Mac’s current copy of iTunes. Highlight a device by clicking it and then click Scan.
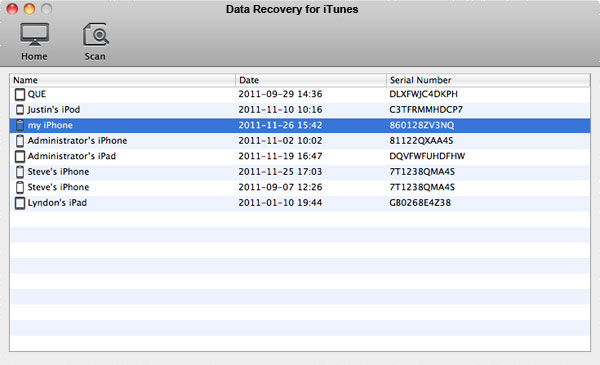 Step 2: Preview and Select
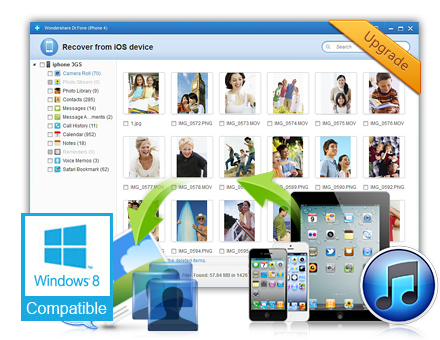
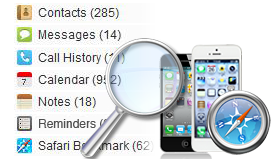
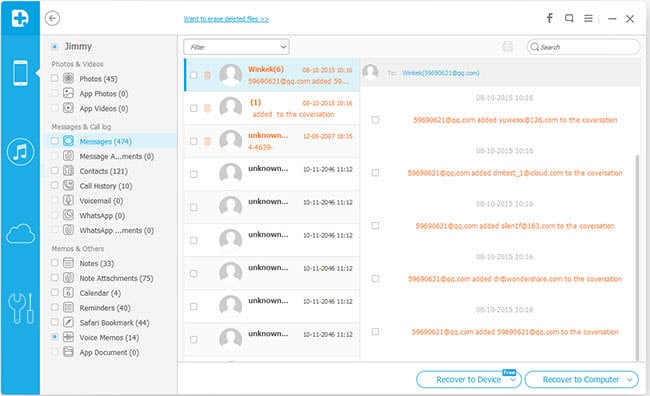
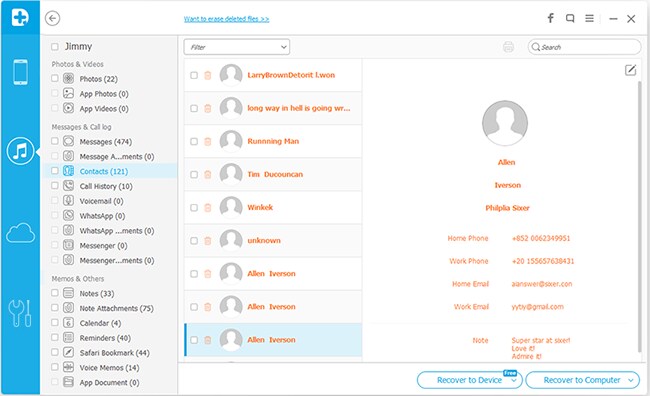
After you click Scan, you’ll immediately be able to view thumbnails of all media files previously synced to iTunes from that device. Browse these files by category (Photos and Videos, Contacts and Notes) by clicking one of these three options on the top left of the window.
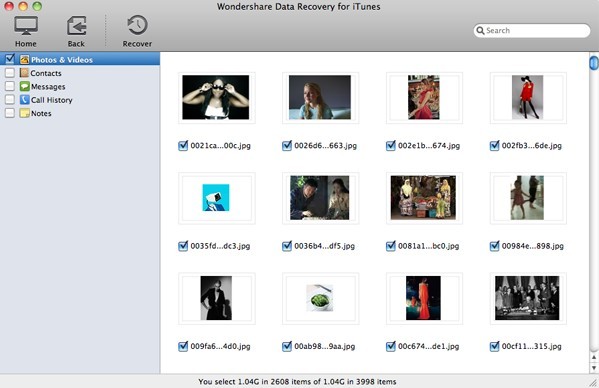 Custom Select
Select one at a time by checking the individual boxes located under each thumbnail, or select all files in a category (Contacts, for example) by checking the box next to each category in the top left.
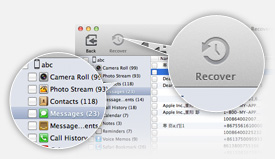
Step 3: Recover Your FilesAfter you’ve completed selecting all the files you want to recover, just click Recover in the menu bar next to the Back button (Actually recover is not allowed in the free trial version). At the Save prompt, you’ll be asked to name and select the destination folder for your recovered files (Desktop, for example). Your file will export immediately to the location you specified. Now you’re all done. Simple, right? To scan, view and recover files from another device, just click the Back button. Enjoy your reclaimed photos, videos, and more!


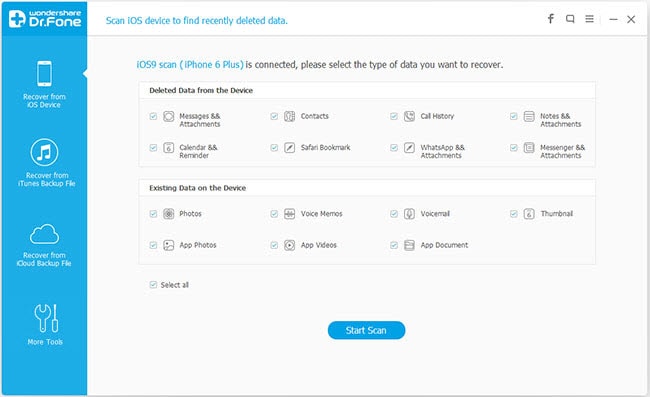






 . It also works in easy steps to recover your iPhone data directly,or recover data from the backup file on your Mac.


